


ManiMe Custom Stick-On Gel Nail Review
LMents of Style uses affiliate links. By clicking on certain hyperlinks and buying a product, you may help me make a small commission from your purchase. It's links like these that keep this site going. Thank you for your support!

If you’re here for the discount code, use ELLEMULENOS for 20% off your ManiMe purchase!
When I lived in Dallas, I got my nails done every 3 weeks. I usually went with dipping powder, because I could make it last a while. Learn the difference between gel and dipping powder here. When using wet polishes, I would always look for nontoxic spectrum options. These are becoming more and more available on the market, but not all of them are created equal. Read my list of nontoxic spectrum options and what to look for in nail polishes here. Anddd even if they are good, going to a nail salon was not always relaxing for me. I was usually shoving it into an hour of pocketed time, that could easily be thrown off if there was an unusual wait or they ran long. Additionally, I was never happy if I just went in and let them file my shape - something was always off. So, I would often trim and shape my nails right before walking in. Hah! I love having my nails painted and have since I was a little girl. But because of the cost (I lost my job last summer - this has been an easy area to cut back) and the somewhat hassle, I just stopped getting my nails done altogether, once moving to Los Angeles.
Almost a month ago, I was scrolling on Instagram and came across ManiMe - a company that touted custom stick-on gel nails that were 10 free and cruelty-free. I share what being 10 free means here. Hold up what!! Long story short, I reached out to them and they agreed to let me try them AND have given me a discount code for you. Use ELLEMULENOS for 20% off your first purchase. The headline is that sure they gifted me a couple, but I’ve purchased some with my own money, so sorry if that is a spoiler alert, but I like them! Before I go into the actual product, let me touch on their background, because it is fascinating.
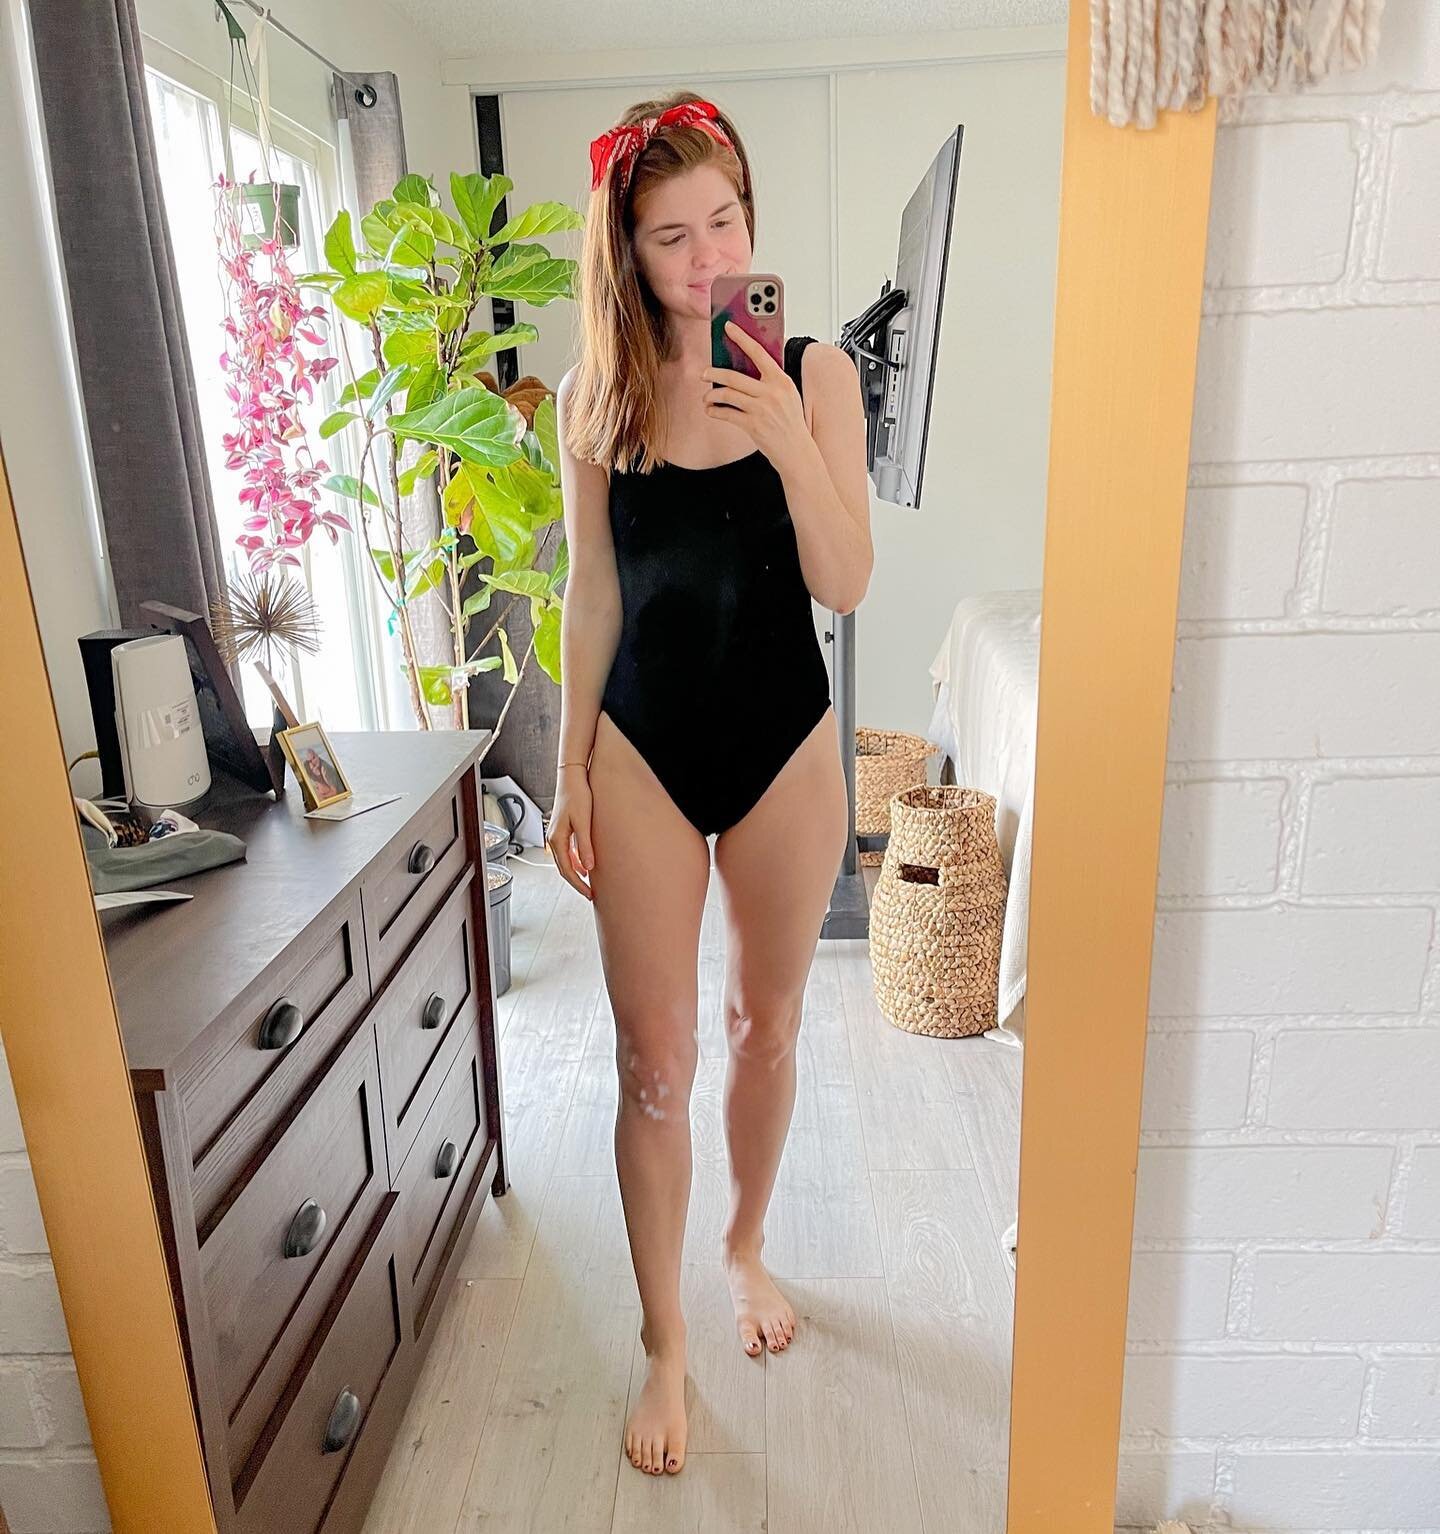
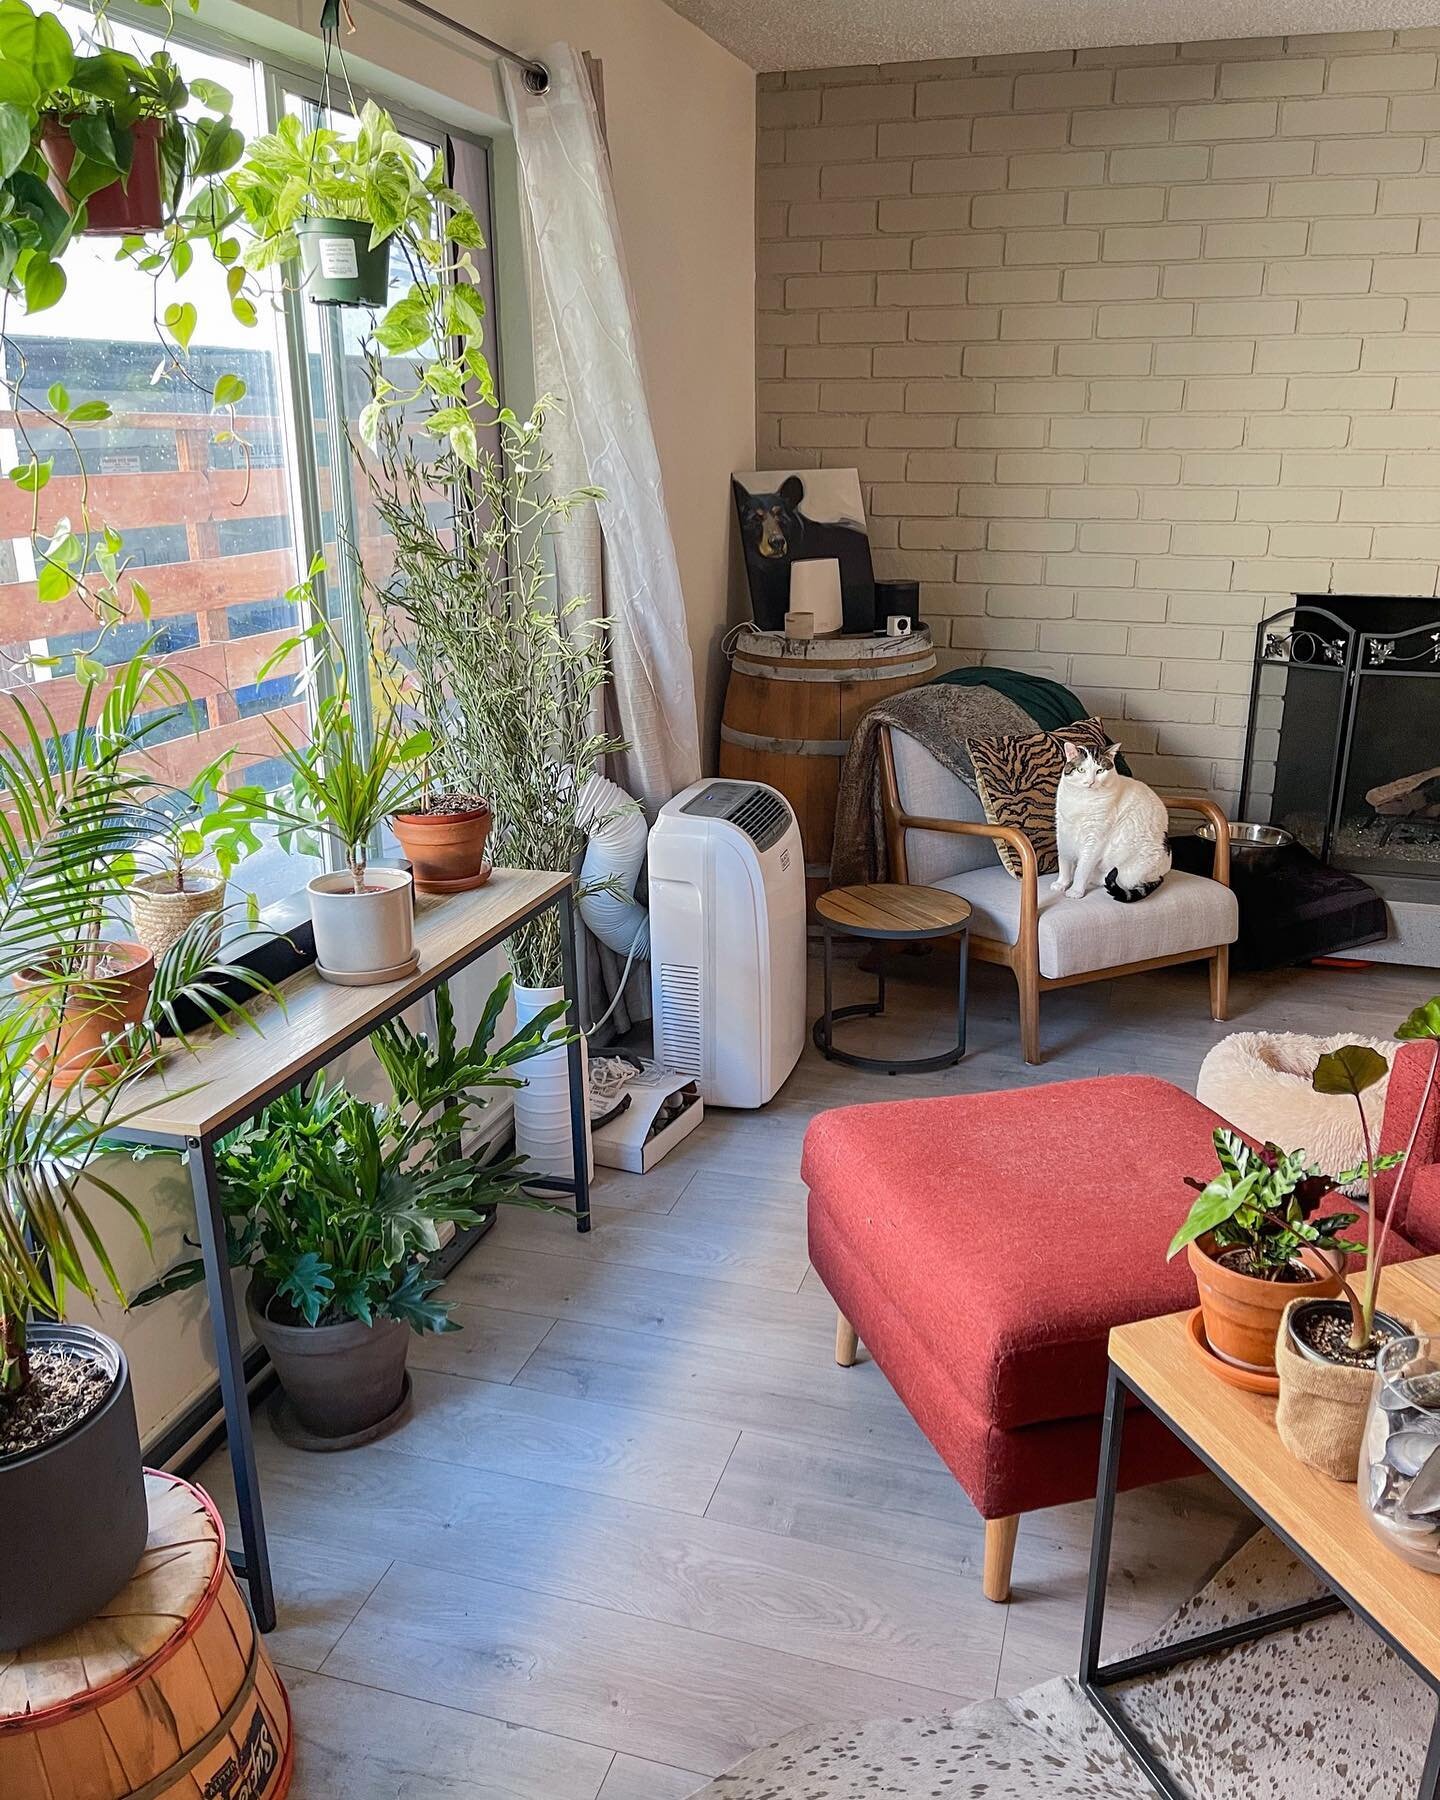
ManiMe Under the Microscope Stick-on Nails (c/o, Get 20% off with discount code ELLEMULENOS) | Everlane V-Neck Tee (c/o) | Aerie Sunglasses | Madewell Black Jeans | Doc Marten Leona Boots | Belt is from my Senreve Aria Belt Bag ( get $50 off of it with discount code ELLEMULENOS)
ManiMe was founded by Jooyeon Song and David Miro Llopis, while both attending Stanford Business School. Jooyeon is originally from Korea and has a deep love of K Beauty and luxurious treatments. She liked getting her nails done, but didn’t like the idea of being out of commission for 2 hours or damaging nails with drill bits and crazy chemicals. She tried press-on nails, but they didn’t really fit. I mean how could they? They are mass made for a myriad of people! She mentioned this dilemma to her artistic classmate David and together they decided to develop a solution. ManiMe was officially founded in the fall of 2017 and here they are now! The name ManiMe obviously sounds like Manicure Me, but it actually has a deeper meaning. It references “mani” and “many”, to share how many different nail designs are literally at your finger tips. The “me” portion of the name actually means beauty in asian characters!! (美 미) On top of being techy and trendt, they are actually “local” to me! Since they are based here in Santa Monica, I have had the pleasure of meeting them both Jooyeon and David in person and they are fantastic.


So now what you’re probably wondering. Do they actually work? How long do they stay on, etc. Here’s all of your questions answered!
How does ManiMe work?
Create an account on their website. It will then instruct you to take images of your finger nails with something like a credit card shape to show size. They will use these to print your custom nails! Pick out a design and check out. Use discount code ELLEMULENOS for 20% off! They ship pretty quickly, so you shouldn’t have to wait long for your order. I would only order 1 set starting out, so you can make sure the fit works.
The nails come with a small nail file and an alcohol wipe to cleanse your nail beds. I prefer to get the basic shape of my nail correct prior to putting on the stickers, but note, you will file your nail a little bit, so don’t go too short. I prefer to start with my pinky nail and work my way in, though there isn’t a wrong order. I would recommend completing nail by nail - not just placing all the stickers on and filing after.
When placing the nails, be sure to not overlap the skin. Bump up next to the cuticle or even leave a small space between the sticker and the edge. Same goes for the edges - place them as inside as possible.If you overlap onto skin, your nails won’t last as long. I prefer to file first, trim a little with nail clippers, then finish filing. This is faster / easier in my opinion. I like to use the nail file vertically, then use it horizontally in one direction (not back and forth), after trimming.
If they get the sizing of the nails wrong / you’d like an adjustment, just reach out to their customer service after placing your first order and they will work with you to get it right!
What do the nails come with?
Instructions
A full set of right and left nails, plus one extra of each nail size (15 stickers total)
1 alcohol wipe
1 small nail file
*how-to videos are located on their website and I would recommend them; though you will learn what is easiest for you to apply.
Can you really put them on in 5 minutes?
To be honest, I cannot put them on in 5 minutes. I have gotten better each time though! I think my best set has been this third set that I am currently wearing. There is a learning curve, but it gets easier as you become accustomed to it. Who knows. Maybe one day my type A brain will be able to do it in 5 minutes! Right now, I probably take 30 minutes, which is still less time than being at a salon.
They are called gel nails… how similar are they to the real thing?
The texture is pretty much the same! I mean if you scratch gel nails on concrete, it will scuff the coat. Same with these - they are just pre-cured to a sticker. When actual gel nails start to get old, the base of them sometimes peel up, but honestly I think those peel up worse than the stickers. These stickers don’t peel up any worse though just because they are stickers. Don’t think of them as something you’d stick on paper. Hah! For me real gel doesn’t last that long - I think these sticker last longer!
How do the Pedicures work?
UPDATE as of summer 2020, Manime launched Pedicures too! The process is the same as your fingers - you submit similar images of your toes. I think they are easier than the nails in some ways, but also a little hard. I can apply these SO much faster than the nail stickers. I assume I can because I get to use my dominant hand the whole time. They are kind of hard because the stickers are so small, but that is because my toe nails are tiny. Regardless, I really like them!
Side note - I didn’t file these. I only filed the big toe and simply trimmed the other toe nails with cuticle scissors. I mostly trimmed from the side which is something I don’t typically do with the nails. I also paint these with 1 layer of clear nail polish.
They did not let me down and I love the pedi sets as much as the nail sets!
How long do ManiMe nails last?
This all depends on how well you put them on! If you overlap skin, they will eventually start to peel up where you overlapped. If you filled aggressively back and forth the ends look jagged and chip faster. My first set lasted a week and that’s because I messed up. User error with overlapping skin! Not all of my nails were messed up, but a couple were and I had already used my extras since it was my first application. My second set (featured here!) Lasted 13 days and I only took them off, because I wanted to switch to something more festive for Valentine’s Day.
UPDATE 6 months later: I’m still wearing ManiMe and my application has gotten so much easier. I have surpassed the learning curve! ADDITIONALLY ManiMe launched a 10-free clear nail polish and suggests painting over the stickers to make them last even longer. I can make mine last 3+ weeks with the clear top coat! I typically use 1 coat of polish at the time of application. I like my nails short so around 2 weeks, I will trim and re-file, then paint 1 additional top coat layer on and am good to go!
I go to the beach at least once a week and my ManiMe nails last through sand, sun, salt, and sunscreen. I’ve also been baking a lot and sticky sourdough can be a terror to manicures. Before the top coat baking was kind of off limits to me as the nails would last a shorter period; however, thanks to the clear top coat my nails can whether any storm.
To recap, here are tips to make your stickers last longer:
don’t overlap the sticker on your skin - only place it on the nail
don’t file like crazy - go vertically, trim, then horizontally (demonstrated in my YouTube video below)
don’t get them wet in the first hour (I like to put them on before bed so they get 8ish hours without water contact
use 1 coat of clear nail polish
What is the price?
ManiMe nails range from solid basics at $15 to designer collab options like the ones I’m wearing here, which are $25. These are gel quality nails, which I’ve never been able to find for $25 or less. Usually this is around the price of a basic manicure and you still have to tip on top of that!
How is ManiMe different from other stick-on or press on nails?
These nails are soft, not hard. They are literally stickers! You don’t have to glue them on or anything like that. The biggest differentiator is that they are custom to your extra nails! This means they will fit your nails specifically, as they are laser cut for you, not an average of a million other people and their nail size. Nail shape too! So, whether you have long or short nails, they are made for you. Note that you’d need to change your nail sizing with ManiMe if you decide to say grow out your nails or something like that. Mine are short and would not work as is if I made them long and almond shaped, for example.
How do you take ManiMe nails off?
You actually just peel them off like stickers! Some of my nails have had some adhesive residue on them after taking them off, but it’s less than what I’d feel after real gel. Andddd you are supposed to pick these off, whereas if you do that with salon gel, you are damaging your nails.
What are the benefits of using ManiMe gel nails vs going to a salon?
Never have to leave your home
No fumes
Nontoxic spectrum product
Cruelty-free
Cheaper than salon prices
Don’t have to leave a tip
Do not require glue or self applied stickers
Nail art at this level is a lot more expensive, so these are a steal if you love nail art in general
Less nail bed damage compared to salon gel or dip
No nail polish remover required
Support a USA made company, as they are made locally in California
Tips for applying ManiMe Stick-On Gel Nails:
File the basic shape you are going for prior to putting on your nails.
Clean your nails well with the alcohol wipe. This helps them stay longer.
Do not apply all the stickers at once. Complete one nail at a time.
Do not file like crazy. This will cause the edge to appear jagged and chipped.
File vertically to create a clear line, trim with nail scissors (I use cuticle scissors for a more precise cut), then file again, horizontally (one way) this time. If you just trim and don’t file, the front part of the sticker won’t adhere as well. Do not yank the excess off! File evenly. Again, cutting may seem easier as it takes less time, but filing most of the nail down and just trimming the edge/end of both sides will make the nails stick better to your fingernails, in turn lasting longer.
For an extra filing step, I like to press the small sides of the nail file along the sides/creases of my nail, in addition to the bottom of my nail.
Keep your hands free of water for the first hour after completing your nails, so the stickers can fully attach to your nails.
My nails grow pretty quickly, so I trim them about once a week, including when I wear ManiMe nails. I file vertically, just to make sure the sticker are still stuck and call it a day. It even kind of freshens them up from normal wear and tear when I do this!
UPDATE - I speak about it below, but they now recommend putting a clear top coat over the nails which makes them last even longer!! I DO NOT like using their base coat under it and find that it shortens the longevity of the mani.
So what is my overall opinion of ManiMe nails? I really like them! If you want to spend less money on manicures, want to pay less for nail art, or can’t leave your home to go get a manicure, these are perfect! They are somewhat nostalgic for me, as I grew up with those horrid plastic nails from Limited Too - I can vividly remember a pair of lime green and neon blue ones that I looooved. ManiMe nails are so much better than those regarding both style AND quality! Additionally, as someone who continues to try and live a more nontoxic lifestyle, I truly appreciate that they are 10 free and cruelty-free. Go ahead and try them for yourself and use discount code ELLEMULENOS for 20% off! The first style I tried was Wine Not and I think that one has been my favorite! I shared them with you here. Since then I have also worn Under the Microscope in grey/silver, and am currently wearing Oaky Crimson. Enjoy and let me know what you think / if you have any questions I didn’t cover!
UPDATE - June 2020: I have definitely gotten over the learning curve of applying the nails. It takes me less than an hour to do them and I can make them last 2 weeks+!! My 2 major tips are don’t get the sticker anywhere on your skin. The other being don’t get them wet for at least an hour after application. I like to put mine on at night so they have 8ish hours of no wetness. ALSO ManiMe just launched a 10 free nail clear nail polish. By applying a coat of polish on top of the nails, the stickers last even longer!! I wore a pair of 3 weeks recently. Note that around 2 weeks I trimmed my length, filed, and applied another clear coat. I do not like using their base coat as it makes me nails peel at the tips in just a little over a week, shortening their longevity.
P.S. I made this video after applying my first set of nails. Enjoy!
Here’s an UPDATED (08/12) video now that I am 6+ months in to wearing ManiMe nails - it includes tips and tricks for making your nail stickers LAST, plus week to week video comparison of how the nails wear. I’m also reviewing their new pedicures!

Click here to subscribe to my weekly newsletter. I recap the week and share recent posts you might have missed!